

Automated machine learning (AutoML) runs various machine learning processes automatically and optimizes error metrics to generate the best possible model. These processes include: data preprocessing, encoding, scaling, optimizing hyperparameters, model training, generating artifacts, and a list of results. Automating the machine learning process makes it fast to develop AI solutions, provide a user-friendly experience, and often produce accurate results with low code – TechTarget.
Popular AutoML Libraries:
In this tutorial, we are going to use 1994 census income data to predict whether a person makes over $50K a year or not. This is a classic binary classification problem and we are going to use the Kaggle dataset Adult Census Income under CC0: Public Domain license. It was extracted from the 1994 Census bureau database by Ronny Kohavi and Barry Becker (Data Mining and Visualization, Silicon Graphics). We won’t be going deep into data analysis or how the model works. Instead, we will build an optimized machine learning model with a few lines of code and access it using the FastAPI server.
AutoXGB
AutoXGB is a simple but effective AutoML tool to train model tabular datasets directly from CSV files. The AutoXGB uses XGBoost for training the model, Optuna for hyperparameters optimization, and FastAPI to provide model inference in the form of API.
Let’s get started by installing autoxgb. If you are facing the error while running the server, then install fastapi and unvicorn.
pip install autoxgb
Initializing
We are going to go deep on the features of the AutoXGB function and how these parameters can be used to improve the results or reduce training time.
- train_filename: path to training data
- output: path to the output folder to store artifacts
- test_filename: path to test data. If not specified, only OOF predictions will be saved
- task: if not specified, the task will be inferred automatically
- task = “classification”
- task = “regression”
- idx: if not specified, the id column will be generated automatically with the name id
- targets: if not specified, the target column be assumed to be named target and the problem will be treated as one of binary classification, multiclass classification, or single column regression
- targets = [“target”]
- targets = [“target1”, “target2”]
- features: if not specified, all columns except id, targets & kfold columns will be used
- features = [“col1”, “col2”]
- categorical_features: if not specified, categorical columns will be inferred automatically
- categorical_features = [“col1”, “col2”]
- use_gpu: if not specified, GPU is not used
- use_gpu = True
- use_gpu = False
- num_folds: number of folds to use for cross-validation
- seed: random seed for reproducibility
- num_trials: number of Optuna trials to run
- default is 1000
- num_trials = 1000
- time_limit: time_limit for optuna trials in seconds
- if not specified, all trials will run
- time_limit = None
- fast: if fast is set to True, the hyperparameter tuning will use only one fold which reduces the optimizing time. After that it will train on the rest of the fold and generate OOF and test predictions.
In our case, we will set most values to default except train_filename, output, target, num_folds, seed, num_trails, and time_limit.
from autoxgb import AutoXGB

train_filename = "binary_classification.csv"
output = "output"
test_filename = None
task = None
idx = None
targets = ["income"]
features = None
categorical_features = None
use_gpu = False
num_folds = 5
seed = 42
num_trials = 100
time_limit = 360
fast = False
Training & Optimization
It’s time to define a model using AutoXGB() and add previously defined parameters to the model. Finally, we will use axgb.train() to start training process. It will run the XGBoost, Optuna, and output artifacts (model, predication, results, config, params, encoders).
axgb = AutoXGB(
    train_filename=train_filename,
    output=output,
    test_filename=test_filename,
    task=task,
    idx=idx,
    targets=targets,
    features=features,
    categorical_features=categorical_features,
    use_gpu=use_gpu,
    num_folds=num_folds,
    seed=seed,
    num_trials=num_trials,
    time_limit=time_limit,
    fast=fast,
)
axgb.train()
It took 10-12 minutes for the training process to finish, and we can see the optimum results below. I think we can improve our F1 score by increasing the time limit. We can also play with other hyperparameters to improve model performance.
2022-02-09 18:11:27.163 | INFO | autoxgb.utils:predict_model:336 - Metrics: {'auc': 0.851585935958628, 'logloss': 0.3868651767621002, 'f1': 0.5351485750859325, 'accuracy': 0.8230396087432015, 'precision': 0.7282822005864846, 'recall': 0.42303153575005525}
Training with CLI
To train the model in the terminal/bash we will be using autoxgb train. We will just set train_filename and output folder.
autoxgb train \
 --train_filename binary_classification.csv \
 --output output \
Web API
By running autoxgb serve in the terminal, we can run the FastAPI server locally.
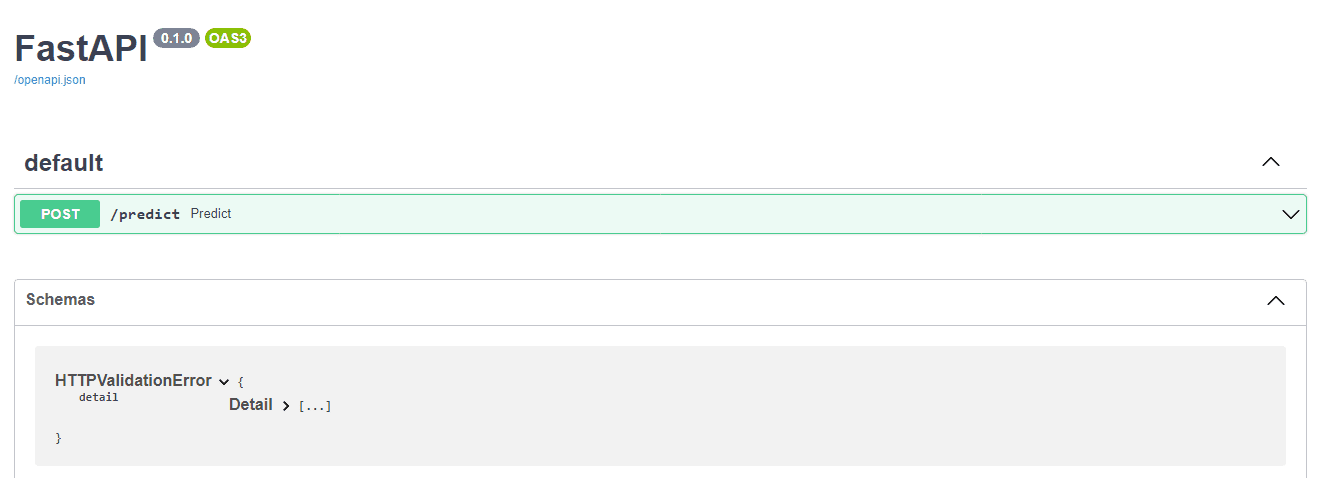

AutoXGB Serve Parameters
- model_path -> Path to model. In our case, it’s the output folder.
- port -> Port to serve on 8080
- host -> Host to serve on, IP address: 0.0.0.0
- workers -> Number of workers or number of simultaneous requests.
- debug -> Display logs of error and success
Deepnote Public Server
In order to run the server on the cloud, Deepnote uses ngrok to create a public URL. We just need to turn on the option and use port 8080. If you are running locally you don’t need to follow this step and directly access the API using “http://0.0.0.0:8080”.
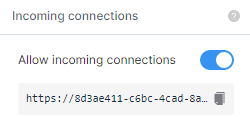
We have provided a model path, host ip, and port number to run the server.

!autoxgb serve --model_path /work/output --host 0.0.0.0 --port 8080 --debug
Our API is running smoothly and you can access it using “https://8d3ae411-c6bc-4cad-8a14-732f8e3f13b7.deepnoteproject.com”.
INFO:     Will watch for changes in these directories: ['/work']
INFO:     Uvicorn running on http://0.0.0.0:8080 (Press CTRL+C to quit)
INFO:     Started reloader process [153] using watchgod
INFO:     Started server process [163]
INFO:     Waiting for application startup.
INFO:     Application startup complete.
INFO:     172.3.161.55:40628 - "GET /docs HTTP/1.1" 200 OK
INFO:     172.3.188.123:38788 - "GET /openapi.json HTTP/1.1" 200 OK
INFO:     172.3.167.43:48326 - "GET /docs HTTP/1.1" 200 OK
INFO:     172.3.161.55:47018 - "GET /openapi.json HTTP/1.1" 200 OK
Prediction
We can add random inputs to predict whether the person’s income is greater than $50k or not. In this example, we are using the FastAPI /docs option to access the user interface.
Input
We are going to use FastAPI GUI to run predictions on models by adding /docs at the end of the link. For example “172.3.167.43:39118/docs”
- workclass: “Private”
- education: “HS-grad”
- marital.status: “Widowed”
- occupation: “Transport-moving”
- relationship: “Unmarried”
- race: “White”
- sex: “Male”
- native.country: “United-States”
- age: 20
- fnlwgt: 313986
- education.num: 9
- capital.gain: 0
- capital.loss: 0
- hours.per.week: 40
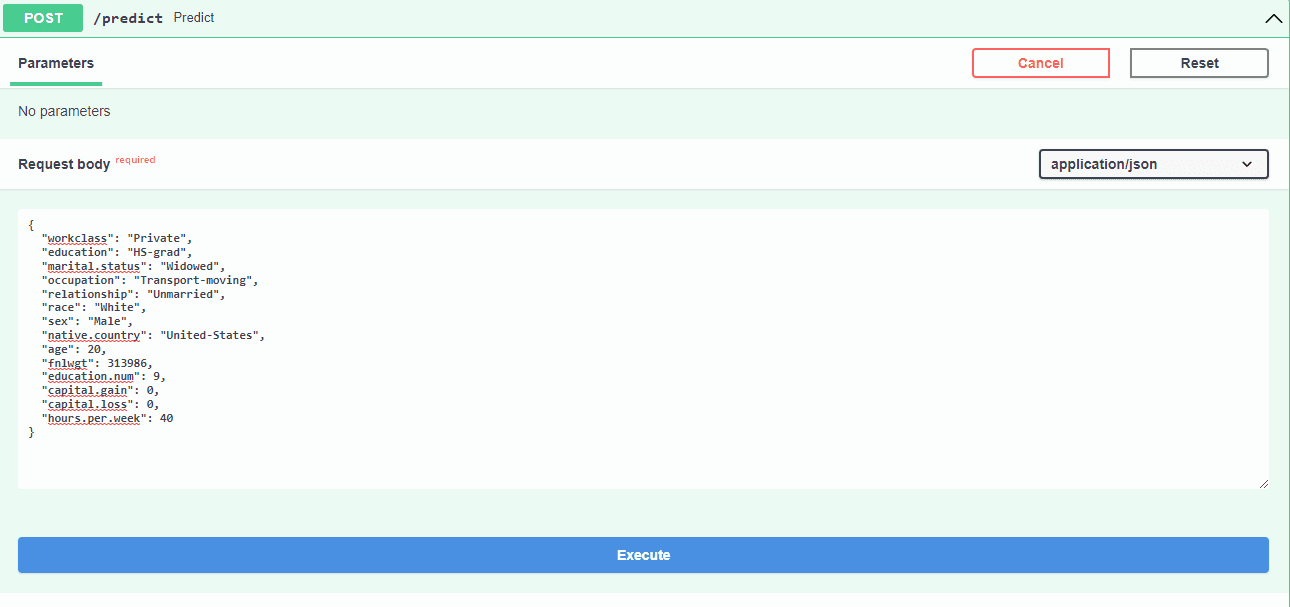

Outcome
The result is <50k with confidence of 97.6% and >50k with confidence of 2.3%.


Test with Request
You can also test the API using requests in Python. Just push parameters in the form of a dictionary and get output in the JSON format.
import requests

params = {
    "workclass": "Private",
    "education": "HS-grad",
    "marital.status": "Widowed",
    "occupation": "Transport-moving",
    "relationship": "Unmarried",
    "race": "White",
    "sex": "Male",
    "native.country": "United-States",
    "age": 20,
    "fnlwgt": 313986,
    "education.num": 9,
    "capital.gain": 0,
    "capital.loss": 0,
    "hours.per.week": 40,
}

article = requests.post(
    f"https://8d3ae411-c6bc-4cad-8a14-732f8e3f13b7.deepnoteproject.com/predict",
    json=params,
)

data_dict = article.json()
print(data_dict)
## {'id': 0, '<=50K': 0.9762147068977356, '>50K': 0.023785298690199852}
Project
The code and examples are available at:
Conclusion
I use AutoML to get an edge in Kaggle competitions and to develop a model baseline for machine learning projects. You can sometimes get fast and accurate results but, if you want to create the state of the art solutions, you need to experiment with various machine learning processes manually.